Why Choose West Covina Drywall Contractor for Textured Drywall Repair in West Covina, CA
Textured repair is a two-stage process: the drywall is repaired and stabilized first, then the texture is recreated and blended. Each repair is evaluated for texture scale, density, and transition before work begins, and the finish is inspected under normal room lighting.
10+ Years Experience
More than a decade of hands-on drywall repair means orange-peel, knockdown, and smooth texture repairs are evaluated and blended with proven methods rather than guesswork.
Insured
West Covina Drywall Contractor is insured, giving property owners confidence when textured repair work is performed inside occupied homes and finished interiors.
Repair-First Approach
The underlying drywall is repaired and stabilized before any texture is applied, because texture cannot hide a poorly finished patch — the surface beneath must be sound and appropriately flat.
Orange-Peel and Knockdown Familiarity
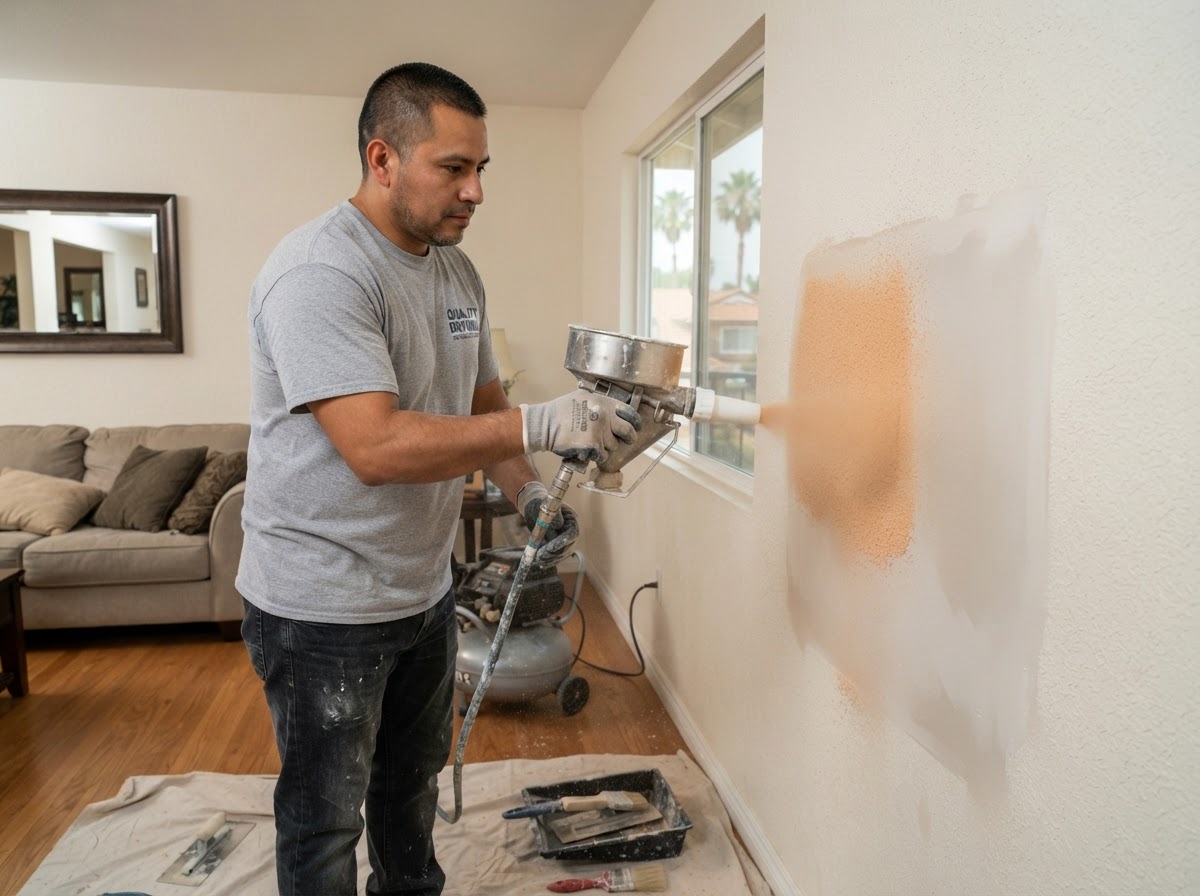
Orange-peel and knockdown texture patterns are reproduced using a hopper gun or hand methods, matching the existing scale, density, and application technique of the surrounding surface.
Texture-Scale and Blend Awareness
The existing texture is sampled for scale and density before application, and the blend zone is feathered so the new texture meets the old without an abrupt change at the repair edge.
Wide Transitions
Texture is feathered well beyond the patch perimeter rather than applied only over the patch, reducing the flat-spot appearance that makes repairs visible under side lighting.
Lighting Inspection
The finished texture is inspected under normal room lighting and raking light before cleanup, so the transition is evaluated the way it will actually be seen in the home.
Transparent Pricing
Defensible planning ranges with clear notes on texture type, blend area, and prior paint buildup are explained before work begins, so scope and cost are understood up front.
Our Specialized Textured Drywall Repair Services
Textured repair is scoped by texture type and whether the repair is on a wall or ceiling. Each sub-service below uses the three-paragraph formula — what and where, how with real materials, and the customer outcome.
Orange-Peel Drywall Repair
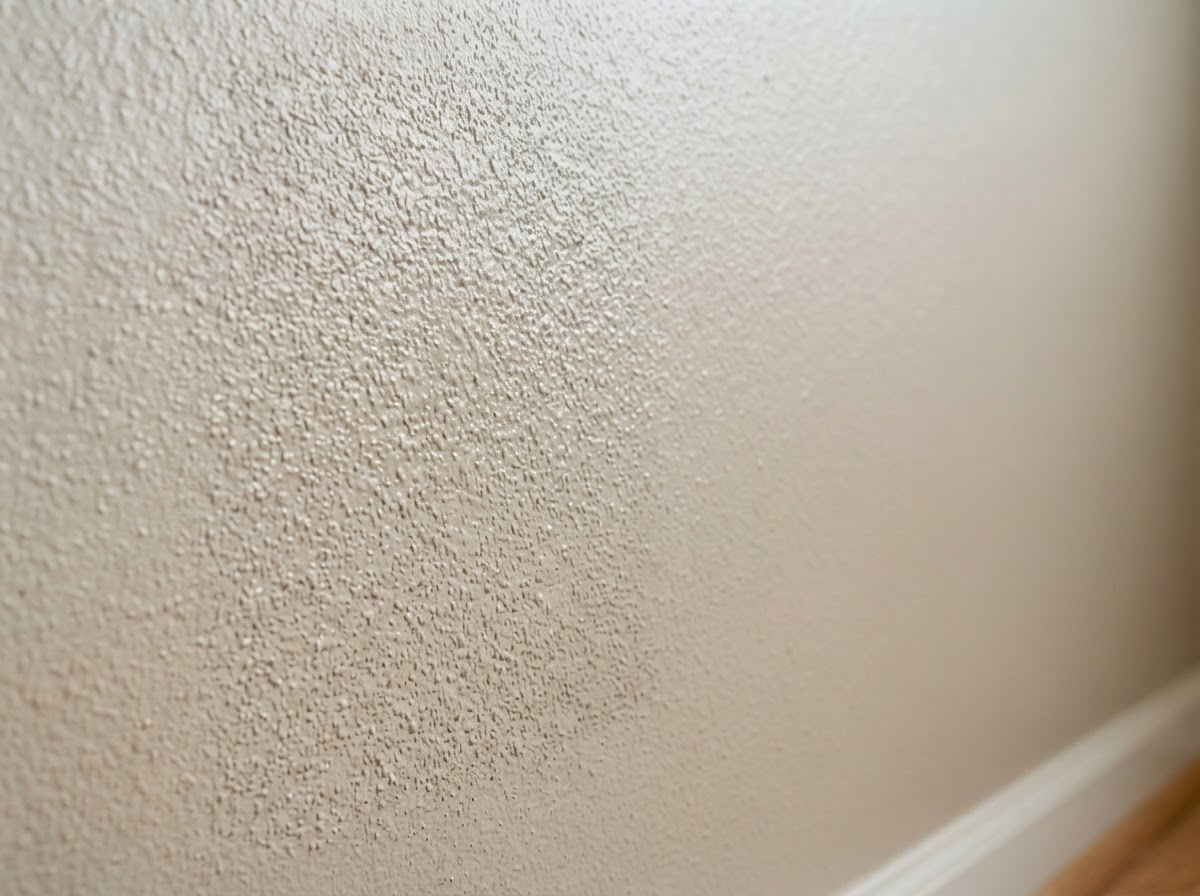
Orange-peel drywall repair fixes patches in West Covina walls and ceilings where the surrounding finish is a fine orange-peel texture and the repair must blend back into that pattern.
Work completes the underlying drywall patch first, then samples the existing orange-peel scale and density, applies matching texture with a hopper gun, and feathers the blend zone so the new texture meets the old.
The repaired area closely blends with the surrounding orange-peel surface, reducing the visible flat spot or pattern change under normal room lighting.
Knockdown Texture Repair
Knockdown texture repair restores patches in West Covina walls and ceilings where the surrounding finish is a knockdown pattern and the repair must reproduce the flattened mounds and relief.
Work completes the drywall repair, sprays a splatter pattern with a hopper gun, flattens selected areas with a taping knife after a brief set time, and feathers the transition into the existing knockdown field.
The repaired area closely blends with the surrounding knockdown texture, with the pattern scale and relief matched to reduce visible contrast under lighting.
Textured Ceiling and Wall Patch Blending
Textured patch blending restores repaired areas on West Covina ceilings and walls where the surrounding texture must continue across the patch without an abrupt boundary.
Work stabilizes the drywall repair, feathers the patch perimeter, evaluates the existing texture pattern and prior paint buildup, and applies matching texture with a hopper gun or hand tools across the blend zone.
The patch reads as a continuation of the surrounding texture, with the transition feathered to reduce the visible repair boundary under normal room lighting.
Common Causes of Textured Repair in West Covina Homes
Holes or Patches Break the Existing Pattern
When a hole or patch is made in a textured wall or ceiling, the repair area is left flat while the surrounding surface retains the original texture. Reproducing the texture over the patch restores the continuous pattern.
Crack or Seam Repairs Leave a Smooth Strip
Crack and seam repairs often leave a smooth strip of compound along the repair line that interrupts the surrounding texture. Re-texturing the strip blends the repair back into the field.
Prior Repairs Use the Wrong Texture Scale or Density
When a prior repair applied texture at the wrong scale or density — too heavy, too fine, or the wrong pattern — the mismatch is obvious under lighting. Redoing the texture with the correct scale reduces the contrast.
Signs You Need Textured Drywall Repair in West Covina
The Patch Is Flat While the Surrounding Wall Is Textured
When a patch is flat and smooth while the surrounding wall has orange-peel or knockdown texture, the flat spot stands out under normal lighting. Reproducing the matching texture over the patch restores the continuous pattern.
The Texture Pattern Changes Abruptly at the Repair Edge
An abrupt change in texture scale, density, or pattern at the repair edge signals that the blend zone was not feathered. Widening the transition and matching the existing scale reduces the visible boundary.
Side Lighting Makes the Repair Boundary Obvious
When side lighting or raking light reveals a clear repair boundary, the texture transition needs to be feathered wider and inspected under the same lighting conditions to reduce the contrast.
Our Textured Drywall Repair Process
Repair and Stabilize the Drywall First
The underlying drywall is repaired and stabilized — backing, patch piece, tape, and compound — before any texture is applied. Texture cannot hide a poorly finished patch, so the surface beneath must be sound and flat.
Feather and Refine the Patch Perimeter
The patch perimeter is feathered and sanded smooth with dust-controlled equipment, creating a flat, even transition zone where the new texture will meet the existing surface.
Evaluate the Existing Texture Pattern
The existing texture is sampled for scale, density, and application method — orange-peel droplet size, knockdown mound pattern, or smooth finish. Prior paint buildup and age are noted because they affect how the new texture will read.
Apply and Blend the Matching Texture
Matching texture is applied with a hopper gun or hand tools over the repair area, then feathered well beyond the patch perimeter into the surrounding field so the new texture meets the old without an abrupt boundary.
Inspect the Transition Under Normal Room Lighting
The finished texture is inspected under normal room lighting and raking light before cleanup, so the transition is evaluated the way it will actually be seen — and adjusted if the contrast is still too visible.